Here we go on a long blog entry.. got to start somewhere.
I am part of a group of modellers who meet on a Friday evening called ModofAu. Each year the group exhibits a layout at the Perth Model Railway Exhibition at the Claremont Showgrounds on the June Long weekend. This year they decided to go On30.
So I thought I would join them and build one of the modules that would be combined to form a bigger group of modules around 16m long. Each individual module is 1.8m long by 60 cms deep. The track would enter and exit in the middle of each end and be linked together by a short section. The main theme of the collective layout was logging, but we had an open palette to what we designed and included on our individual module...so I thought this would give me a chance to try out some ideas and techniques for the Orphan Valley home layout. My area contains a valley, small pond for loco refilling, artists residence and studio, a small local fuel depot and dirt roads.
This is my progress so far which has taken place over my time off in the school holidays.
 |
| Module is pine framework and risers, with 9mm mdf base board and 3mm backboards. |
 |
| 1800 x 600mm size. I added an extension out the front to accommodate a road and add more interest to the shape of the module. |
 |
| Module primed and underside painted flat black. |
 |
| Beginning track work. |
 |
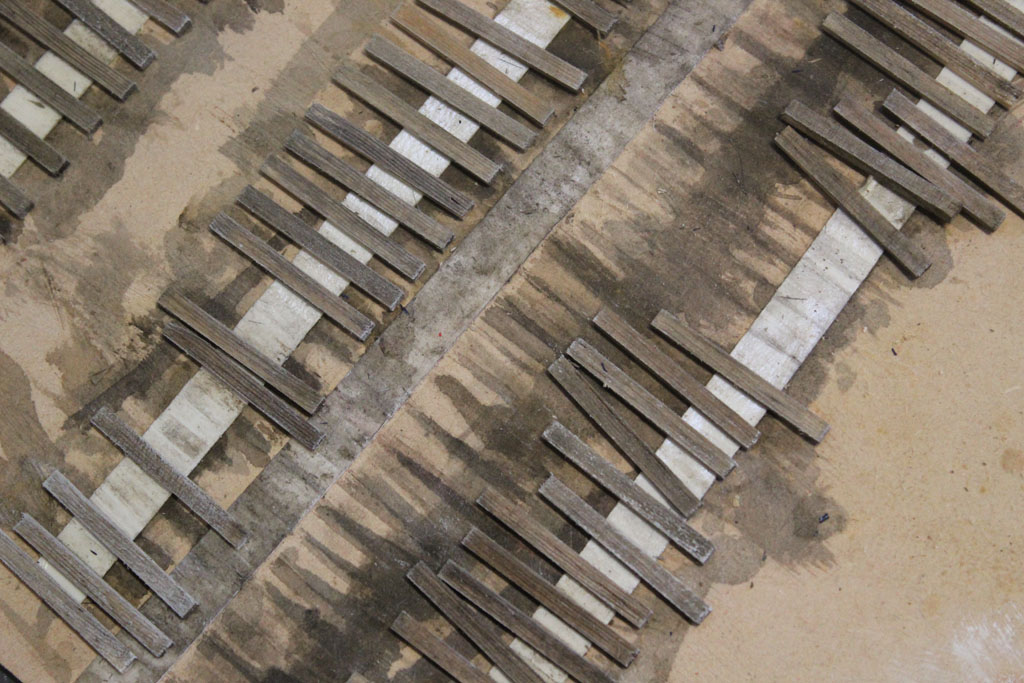
| Staining sleepers with isopropyl alcohol and india ink mix and other colours to warm the mix up. |
 |
| Dry brushed to bring out grain of timber and age. I used double edge tape to hold the sleepers down. |
 |
| Back drop painted. I use artist quality acrylics. Tried to create blue mountains type atmosphere with a deep valley that would lend itself to forced perspective. |
 |
| Trackwork taking shape and another view of benchwork/backdrop. |
 |
| Stone wall feature added - Chooch Enterprises wall. |
 |
| Oil/fuel spur in place. |
 |
| The debris left over. |
 |
| On the other end of the module |
 |
| I added some plaster castings of that i'd made out of rubber latex of coal to help shape the tunnel entry. |
 |
| What the foam looks like with the CSR Multipurpose Jointing compound (thinned with water) painted over it. It has a nice grainy texture just right for Blue mountains sandstone. |
 |
| Overall progress shot. |
 |
| No, the dog didn't chew up all the foam. She has been very good,, and just keeps me company. |
 |
| Starting to seal the pond area with textured no more gaps |
 |
| Middle mini- scene from another coal casting and FRocks |
 |
| Coloured and scenicked. |
 |
| Now for the big job of coloring the rock formations trying to kepp a blue mountains sandstone appearance. I stated with a random spayed of Matt black in the crevices. Then used washes of acrylics with blending done with sprays of water and fan brushes. |
 |
| the results with some Woodland Scenics ground covers and blended/sieved soils added. the fascia is bogged up ready for painting flat black. |
 |
| More scenics and the local shop keeper has dropped in to check out the progress. |
 |
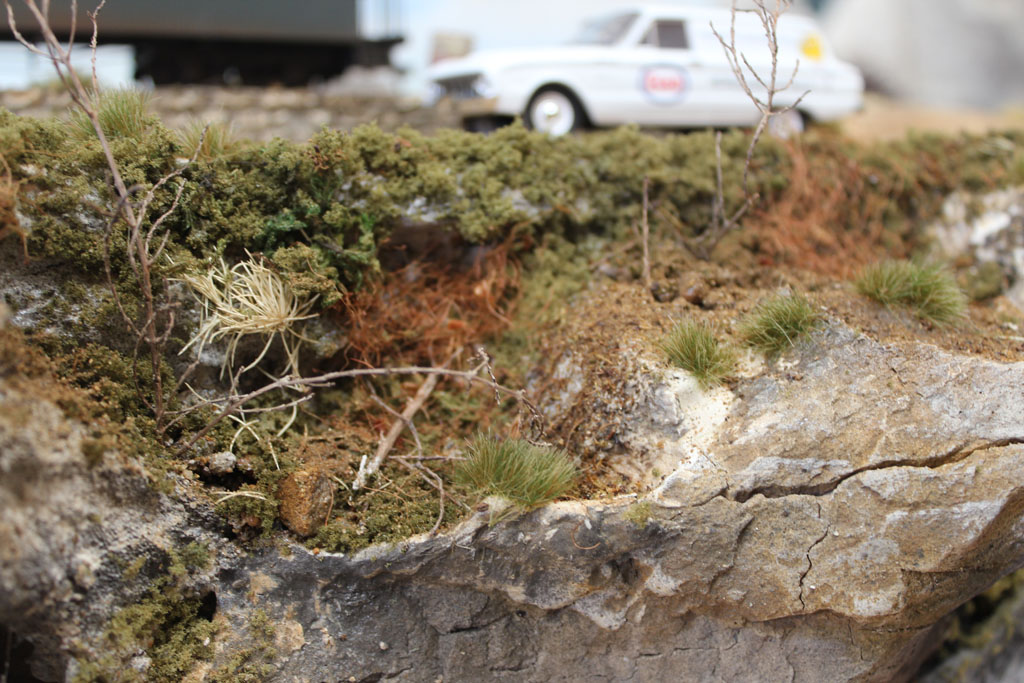
| Detail shots with the foliage and ground covers being added. The pond has its bottom added and the green replicates the algae and mosses that gow up the rocks in these environments. |
 |
| Starting to try out some tree branches. I have a lot more trees to add, but am thinking I might leave this till after transporting to the exhibition for major trees and all other scenery is complete. |
 |
| Ready to attack the other end cliffs. |
 |
| I love the FRocks method - very blue mountainish. Just need to add some streaks and foliage groundcover. |
 |
| Foliage and ground cover is made up of Woodland Scenics ground foam, pickled ferns, dried natural materials, sieved dirt, Silifor clumps and twigs. |
 |
| Overall view of Fuel Depot corner with tanker. Much more detail and building up to be done. It's all about layers. |
 |
| Birds eye view. |
 |
| The materials, equipment and workspace for the constructing the module. |
With just over a month to go, I need to get onto the buildings and all the detailing and tree construction. I have enjoyed the process immensely so far.


Wow Pete! That is absolutely AMAZING. What detail! Love the rock work and the back drop. Can't imagine how fantastic it's going to look in the end. You are so talented... love to see it in real life sometime soon. Thanks so much for bloggin it :)
ReplyDeleteMate, You have nailed the Blue Mountains look!
ReplyDeleteIt,s just so "post card" real! I spent many
hours working as a Fox shooter near the Blue
Mountains NP and know this area! You have
really captured the look!
Well Done!
Same here. Great sky and rockwork !
ReplyDeleteCompliments on some great work, Walter.
Great work on the rocks!!!
ReplyDelete